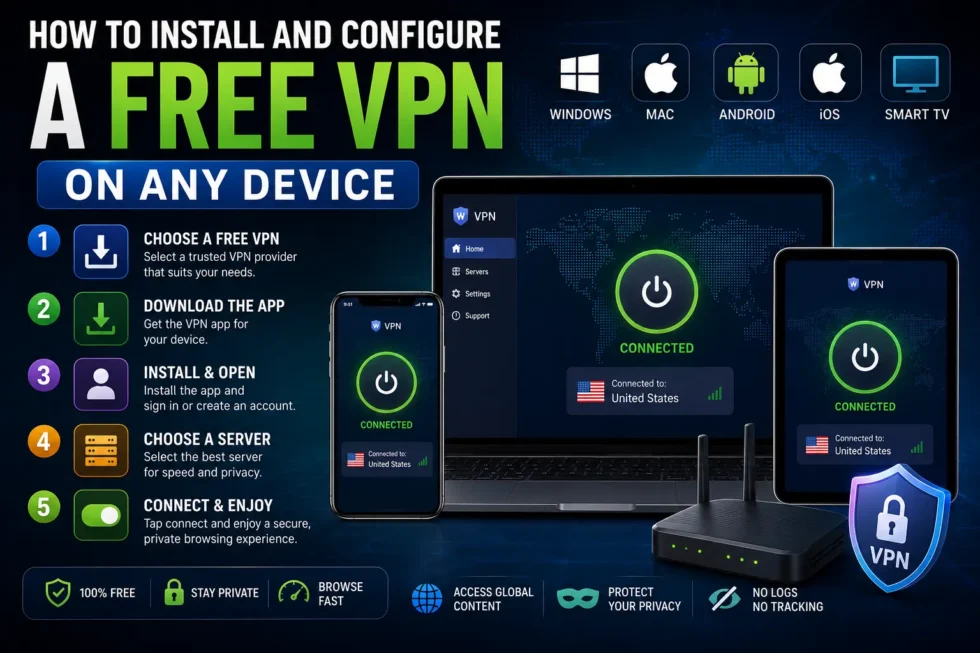
How to Install and Configure a Free VPN on Any Device
Learning how to install a free VPN correctly saves you from weak security and frustrating errors later. Whether you use Windows, Mac, Android, iOS, or a router, the setup process follows a similar pattern. This guide walks through every device so you can configure a free VPN properly the first time.
This article supports our main resource, the Free VPN Complete Guide (2026), which compares the best free VPNs for privacy, speed, streaming, and gaming. Pair it with our companion cluster guide, How to Use a Free VPN: Setup, Features, Troubleshooting, and Common Problems, for a complete setup and troubleshooting walkthrough.
Before You Install a Free VPN: What You Need
Gather a few basics before you begin. You need a stable internet connection, an account with your chosen provider, and administrator access on your device. Check that your device meets the app’s minimum operating system requirements, since older systems sometimes block installation entirely.
How to Install a Free VPN on Windows
Download the app directly from the provider’s official website or the Microsoft Store. Avoid third-party download sites, as they sometimes bundle malware with VPN installers. Run the installer, grant the requested permissions, then sign in with your account credentials.
Once installed, Windows may ask for network permissions. Allow these permissions so the VPN can create a secure tunnel. Restart your computer if the app fails to connect on the first attempt.
How to Install a Free VPN on macOS
Mac users should download apps only through the App Store or the provider’s verified site. macOS often requires you to approve the VPN configuration profile manually. Open System Settings, navigate to Privacy & Security, and approve the extension when prompted.
After approval, sign in and select a server. Grant any VPN configuration requests that appear, since macOS blocks unauthorized network changes by default.
How to Install a Free VPN on Android
Open the Google Play Store and search for your chosen provider. Install the app, then open it and log in. Android will show a connection request dialog asking to add VPN configurations.
Tap “OK” to accept this dialog, or the VPN cannot function. Choose a server from the app’s list, then tap connect. Android displays a small key icon in your status bar once the connection succeeds.
How to Install a Free VPN on iPhone or iPad
Download the app from the App Store and open it after installation. iOS will prompt you to allow VPN configuration additions. Accept this prompt, since Apple requires explicit consent for any app that manages network traffic.
Sign in, pick a server, and tap connect. A small “VPN” label appears near your battery icon when the connection works correctly.
How to Configure a Free VPN on Your Router
Installing a free VPN directly on your router protects every connected device automatically. Check whether your router supports VPN client configuration, since not all models do. Access your router’s admin panel through a browser, then locate the VPN client settings section.
Enter the configuration details your provider supplies, including server address and authentication credentials. Save these settings and reboot the router. Test the connection using an IP-checking website afterward to confirm the tunnel works properly.
How to Set Up a Free VPN on Smart TVs and Streaming Devices
Many smart TVs lack native VPN app support. Configure your VPN on your router instead, since this method protects your TV without needing a dedicated app. Alternatively, check whether your provider offers a dedicated app for your specific streaming device.
Key Settings to Configure After Installing Your Free VPN
Installation alone doesn’t guarantee full protection. These settings matter just as much as the install process itself.
Choosing the Right Protocol
Open your app’s settings menu and look for protocol options. WireGuard offers strong speed and security for most users. OpenVPN provides excellent security too, though it runs slightly slower on older devices.
Enabling a Kill Switch
A kill switch blocks internet access if your VPN connection drops unexpectedly. Enable this feature immediately after installation. Without it, your real IP address could leak during a brief disconnection.
Setting Up DNS Leak Protection
DNS leaks expose your browsing activity even while connected to a VPN. Check your app’s settings for a DNS leak protection toggle. Test for leaks afterward using a dedicated DNS leak test website.
Selecting the Best Server Location
Pick a server close to your physical location for better speed. Choose a specific country if you need to access region-locked content instead. Our Free VPN Slow troubleshooting guide explains how server choice affects performance in more detail.
Common Installation Problems and Quick Fixes
Installation errors happen for predictable reasons. Antivirus software sometimes blocks VPN installers, so temporarily disable it during setup if needed. Firewall settings occasionally prevent connections too, and adjusting them usually resolves the issue quickly.
Outdated operating systems cause compatibility problems with newer VPN apps. Update your device software before reinstalling if the app repeatedly fails. Corrupted downloads also cause installation failures, so redownload the installer from the official source if problems persist.
Related Guides
For deeper troubleshooting after installation, read our How to Use a Free VPN guide. If your connection feels sluggish after setup, our article on why your free VPN might be slow covers causes and fixes. For a full comparison of providers, visit the Free VPN Complete Guide (2026).
Quick Recap
Installing a free VPN takes only a few minutes on most devices, but proper configuration matters just as much as the install itself. Enable a kill switch, confirm DNS leak protection, and pick the right protocol before you start browsing. Revisit our pillar guide and troubleshooting cluster whenever you need extra help configuring your setup correctly.